
Tapping and repairing PCB traces Circuit Diagram How to repair damaged PCB pads / traces is a clear instructive tutorial showing the techniques you need to repair your damaged boards .With step by step mini

Learn how to repair your damaged/ broken PCB traces using 4 different methods in my latest tutorial ( Repair Broken Traces , 4 Great Ways ) Repairing bro
How to Repair PCB Trace: A Comprehensive Guide Circuit Diagram
When everything used wires, it was easy to splice them or replace them. Not so much with PC boards, but everyone has their favorite method for repairing a broken trace. [Mr. SolderFix] has his five…

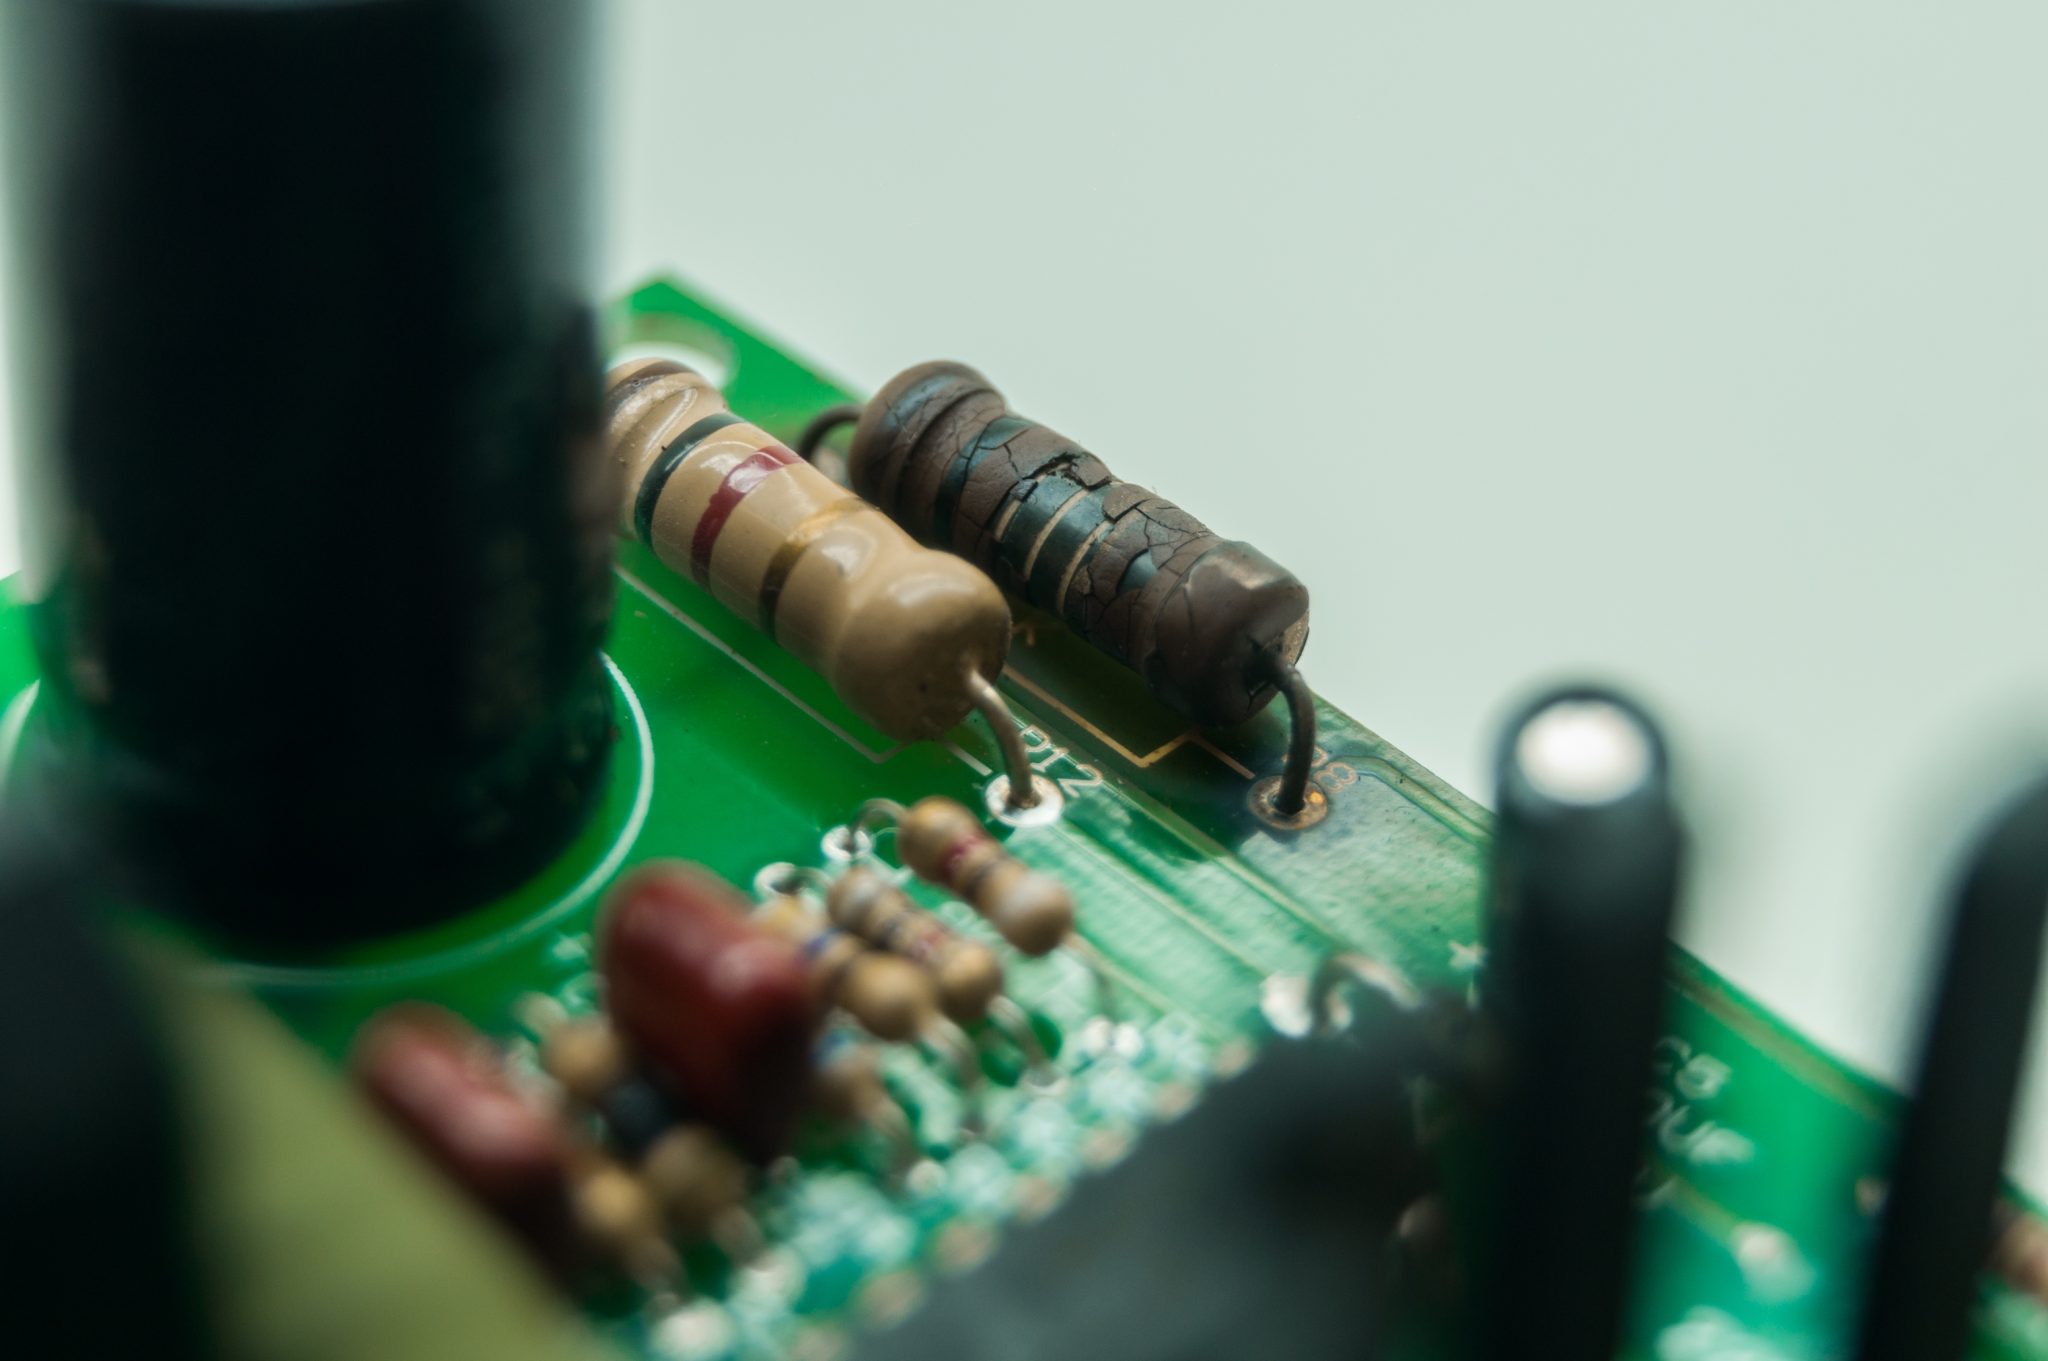
There are two common ways to repair a damaged PCB trace: using a jumper wire or circuit board trace repair tape. Jumper Wire: If the damage is extensive, using a thin piece of copper wire (a jumper wire) can restore the broken trace. Cut a piece of wire long enough to bridge the gap where the trace was broken. Whilst the glues used are very heat resistant it is possible to overheat a PCB and damage it. Kitronik PCB designs use large tracks and pads to help make this a rare problem, the larger amount of copper helps to dissipate the heat. PCB Instant Quote. If you are interested in the methods of fixing broken PCB trace, in this passage you could When a PCB trace gets damaged, it can interrupt the flow of electrical signals, causing malfunctions or rendering the device non-operational. Common causes of PCB trace damage include physical stress, corrosion, aging, and soldering errors. Tools and Materials for PCB Trace Repair. To repair PCB traces effectively, you'll need the right tools

TO: PCB Trace Repair With a Wire Jumper Circuit Diagram
Overlap one end of the new wire over the existing trace by at least twice the width of the trace. Hold the wire in place using polyamide tape placed out of the way of the overlapped connection. Align both ends at the same time If the area of trace being replaced is straight. Otherwise, align only one end of the trace at this time.
